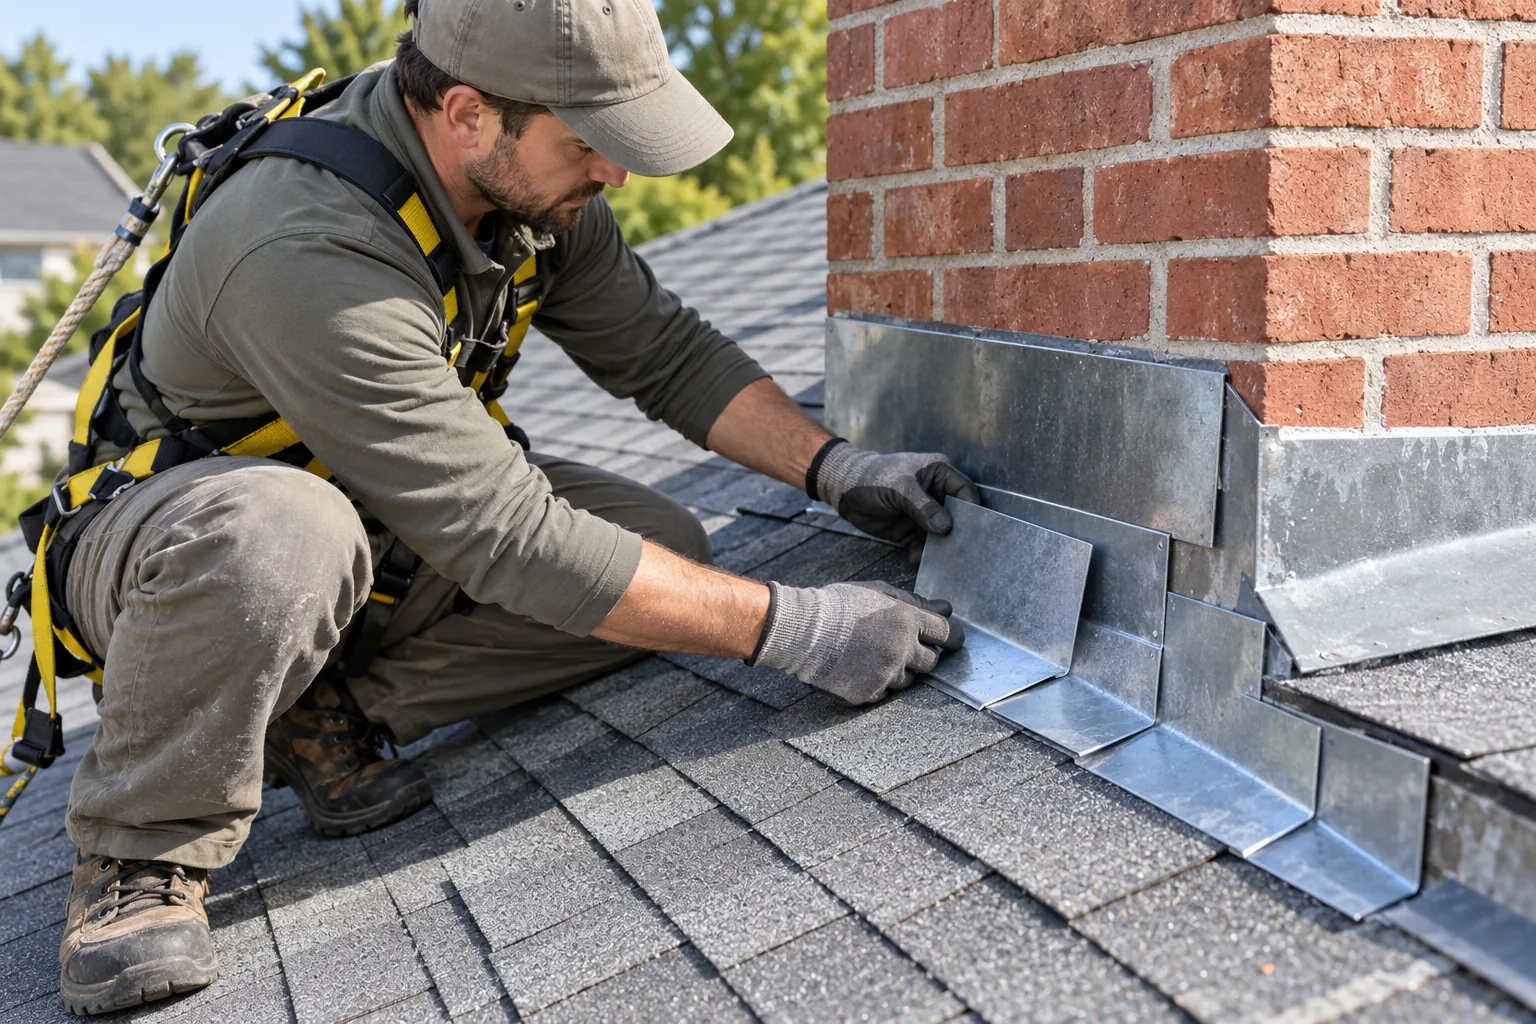
Understanding roof flashing repair
Flashing directs water away from joints that roof covering alone cannot protect. These details may include wall intersections, valleys, skylights, and other penetrations. A leak near one of these areas does not automatically establish which component has failed. A contractor should review both the flashing and its integration with the neighboring covering or wall materials. Simply adding sealant may not correct a damaged, missing, or incorrectly arranged flashing detail.
Signs to discuss
- Leaks near a wall, skylight, or roof junction
- Loose, lifted, or visibly damaged flashing
- Repeated sealing around the same problem area
What the work may involve
- Assess the joint, water path, and surrounding materials
- Discuss repair or replacement of affected flashing components
- Check how the detail connects to roofing and wall coverings
Before agreeing to work
The scope may require lifting adjacent roofing or accessing part of a wall covering. Ask what will be disturbed and restored, and whether the proposed repair addresses the whole water-shedding detail. Chimney-related flashing has additional junctions and can be discussed separately if that is where the concern is located.
Questions for your contractor
- Which flashing components are included in the repair?
- Will adjacent roofing or wall materials need removal?
- Is this a component replacement or a temporary seal?
Related roofing services
Choose your city or request availability for a neighborhood.
Discuss your roof
Call (319) 251-8243 or prepare a request by email.